Installation Instructions
Carefully Unbox
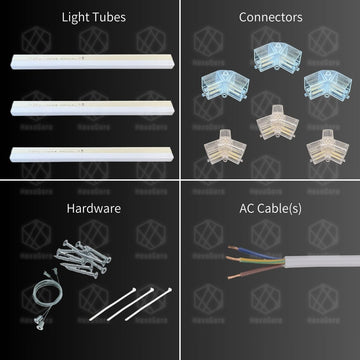
Begin by carefully unboxing your new lighting fixture. Inside the package, you will find several key components essential for the installation. These include the light tubes, which form the structure of the lights grid, the connectors that securely join the tubes together, the AC cable(s) for powering the lights, and the necessary hardware like screws and zip ties. Lay out all parts neatly to ensure everything is accounted for and inspect them for any damage before proceeding with the installation. This will help streamline the process and ensure a smooth setup.
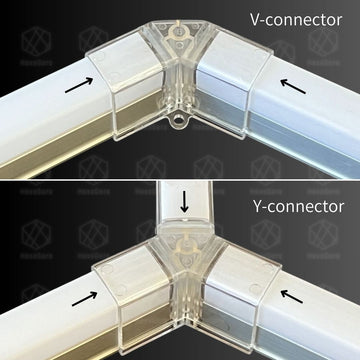
Connect Light Tubes
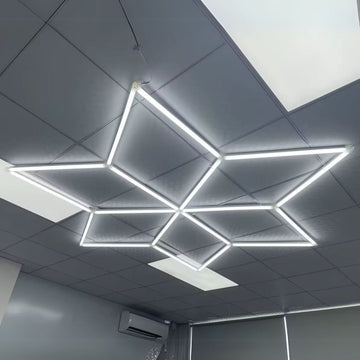
Assemble your Hex Lights by connecting the light tubes using the provided Y and V connectors. Before finalizing the assembly, consider the location of your electrical outlet and position the Y connector accordingly for convenient power access.
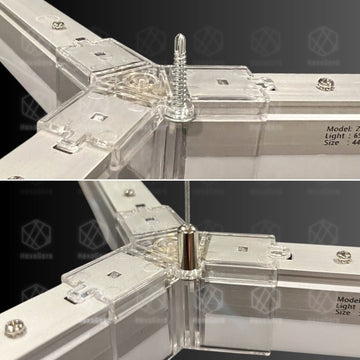
Mounting The Lights
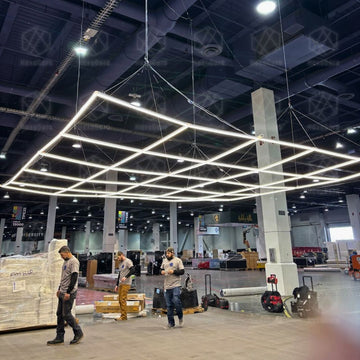
The next step is to secure your Hex Lights to the ceiling. You can either use the provided mounting hardware (screws and zip ties included) or consider alternative methods like suspension cables or chains, depending on your ceiling type and desired aesthetic.
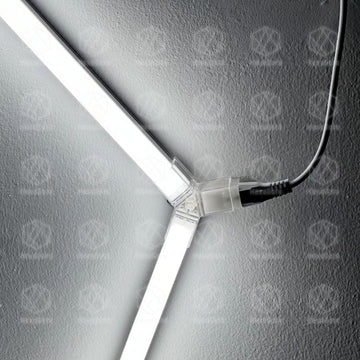
Energize the grid
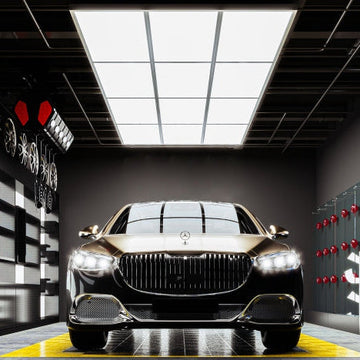
Once the lights are securely mounted, hard-wire the AC cable(s) to the power source. Double-check all connections to ensure they are safe and secure. Switch on the power to energize the lights and enjoy the bright, even illumination of your lighting system.


